
(Last Updated 2/3/26)
These instructions for rehydrating your dried sourdough starter are tailored specifically for Mabel, our very happy and active starter that we have dehydrated to share with you. Whether you bought a dried Mabel starter from us or have your own, this step-by-step guide will help you get it ready for baking in no time!
Questions during the process, or want to show off your starter or bread? We’d love to hear from you. Send us a message on Facebook, Instagram, or through our contact form.
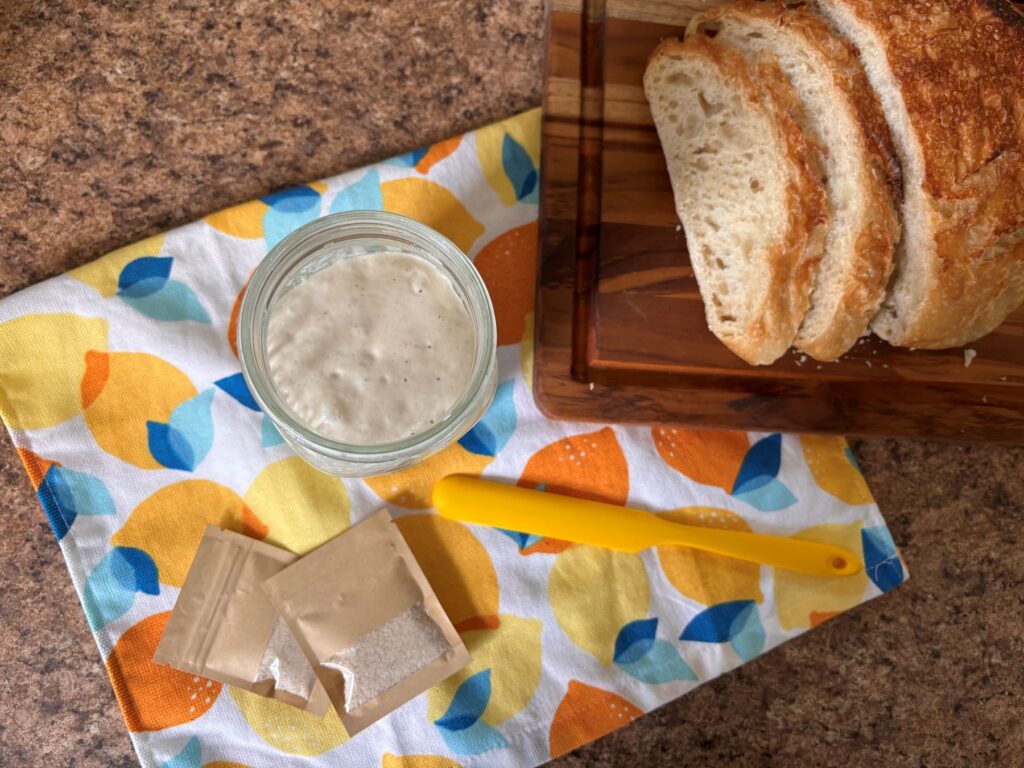

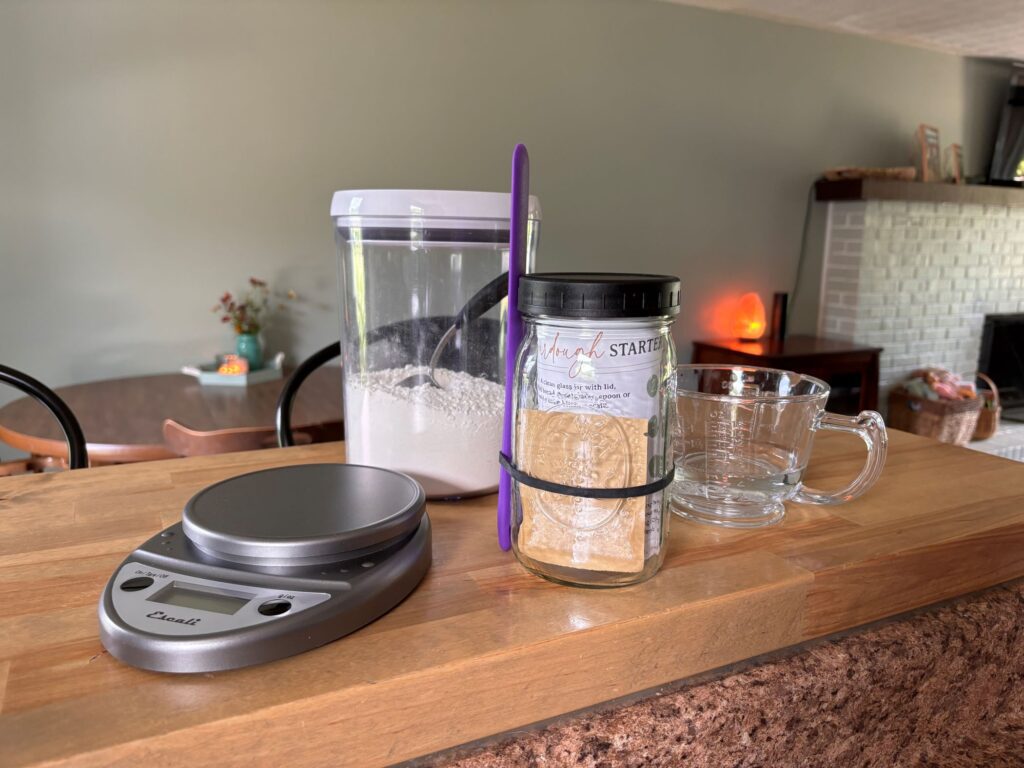
Materials: Gather your dried starter, a clean glass jar with lid, unbleached all-purpose or bread flour, water, spoon or spatula, and a basic kitchen scale.
- We prefer bread flour due to it’s higher protein content, and it seems to make our starter happier, but if you do not have bread flour, you can use unbleached all-purpose flour.
- We use tap water without any issues, but if your tap water has high chlorine levels, you may want to filter it or let it sit overnight to allow the chlorine to dissipate.
- When feeding a sourdough starter, and for baking in general, weight measurements are generally considered more accurate. I highly recommend using a kitchen scale. However, if you do not have one, you can convert the gram amounts given to volume measurements and should have a similar result.
____________________

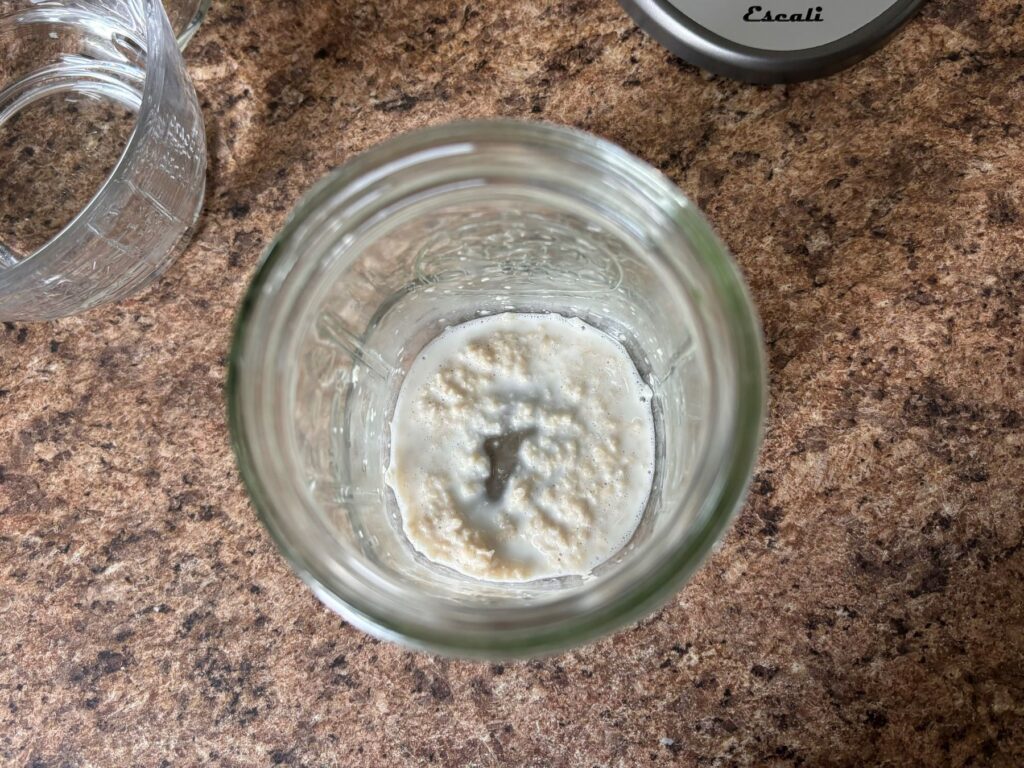
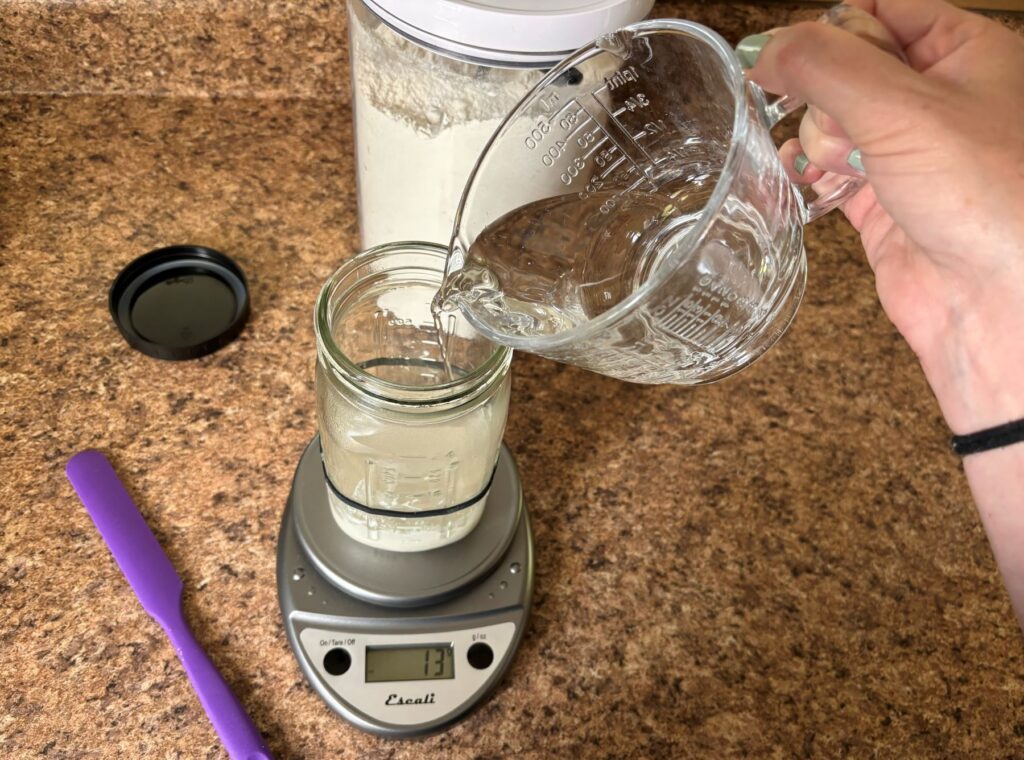
Mix and Rehydrate: In the jar, combine your 10g dried starter with 10g lukewarm water, and stir throughly. Allow the mixture to sit for 30 minutes.

When you first stir the dehydrated starter and water together, it will not fully dissolve and will look like this:
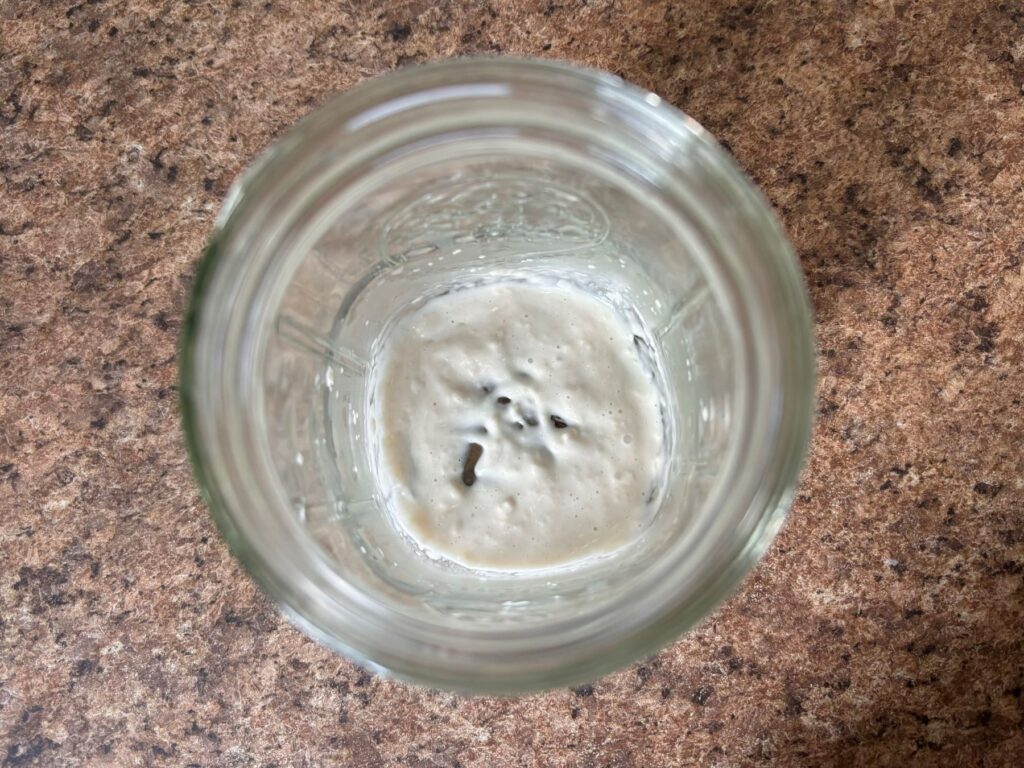
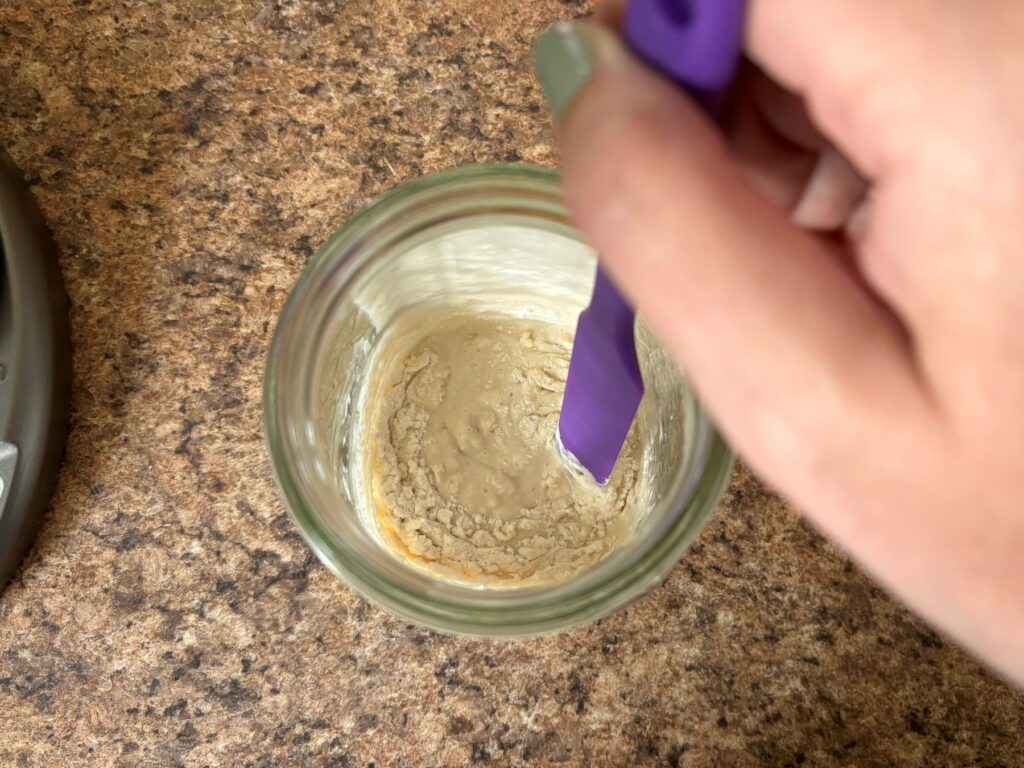
After you let the mixture sit for 30 minutes, it will rehydrate and should like this after you stir it:
____________________

Feed: Add 40g flour and 40g lukewarm water to the jar. Stir well. The mixture should be thick.

Try to scrape what is on the sides down into the mixture as well as what is on your spatula. The consistency should be similar to pancake batter.
____________________

Fermentation: Screw the lid on loosely to allow gases to escape, and let the jar sit at room temperature (68°-76°F) for 24 hours.
____________________

Feed Again: After 24 hours, feed the starter 40g flour and 40g water. Stir well, then repeat 24 hour fermentation.
Here is our starter after the first 24 hour fermentation:
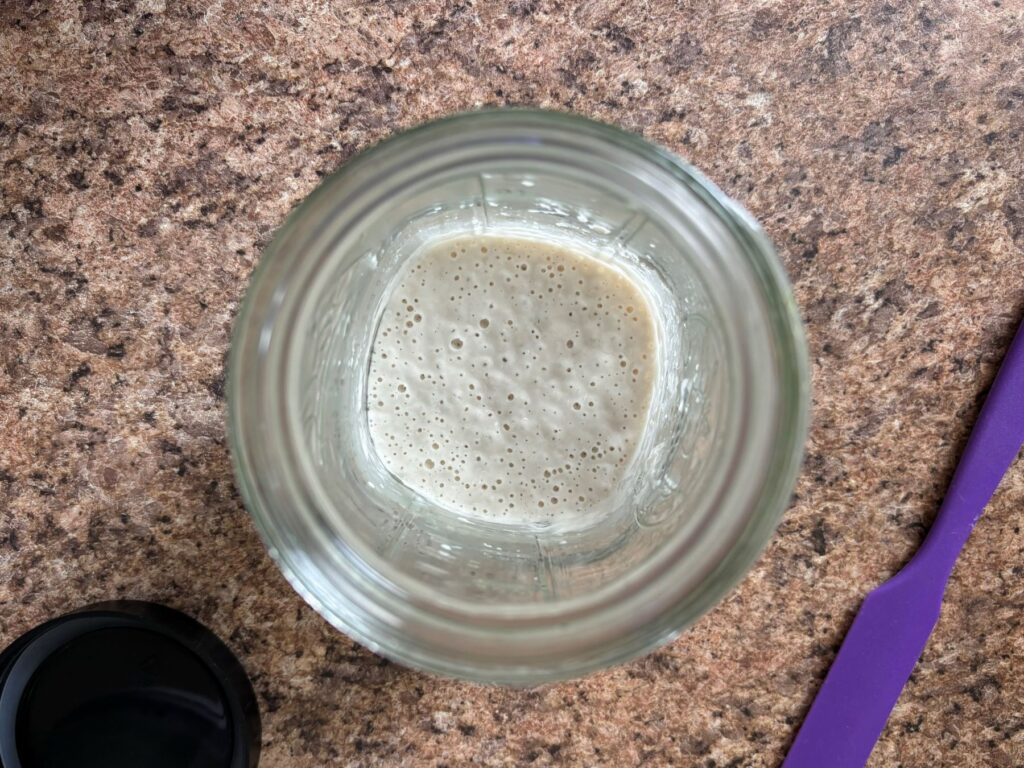
It is very bubbly already, which means it is becoming active. This is good! If yours does not have any bubbles yet, that is okay.
____________________

Discard and Feed: After 24 hours, discard half of the starter. Feed the remaining starter 40g flour and 40g water. Stir well, then repeat 24 hour fermentation.
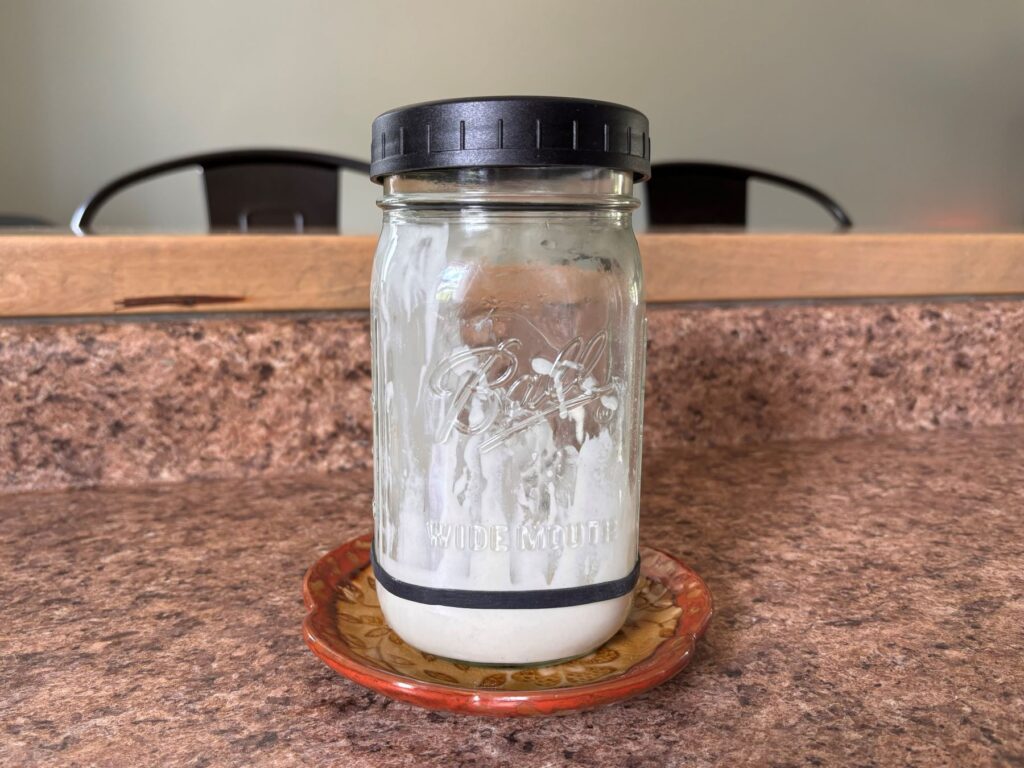
Here is our starter after the second 24 hour fermentation. Lots of bubbles again, but no volume increase yet:
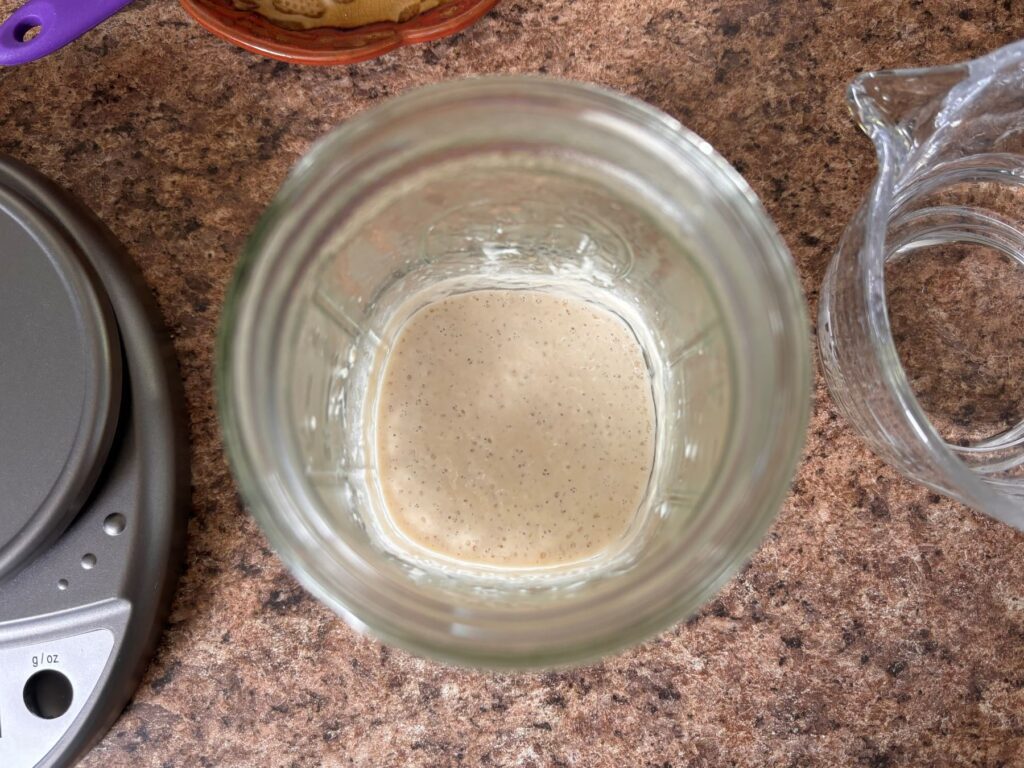
When you discard, you can either be exact by using your scale to weigh a container, pouring the starter into the container, emptying half of that out, and then putting it back into your jar, or do what I do and pour what looks like half in the garbage (or into another container to put in the refrigerator and use for sourdough discard recipes!), and hope for the best. This has always worked out fine for me.
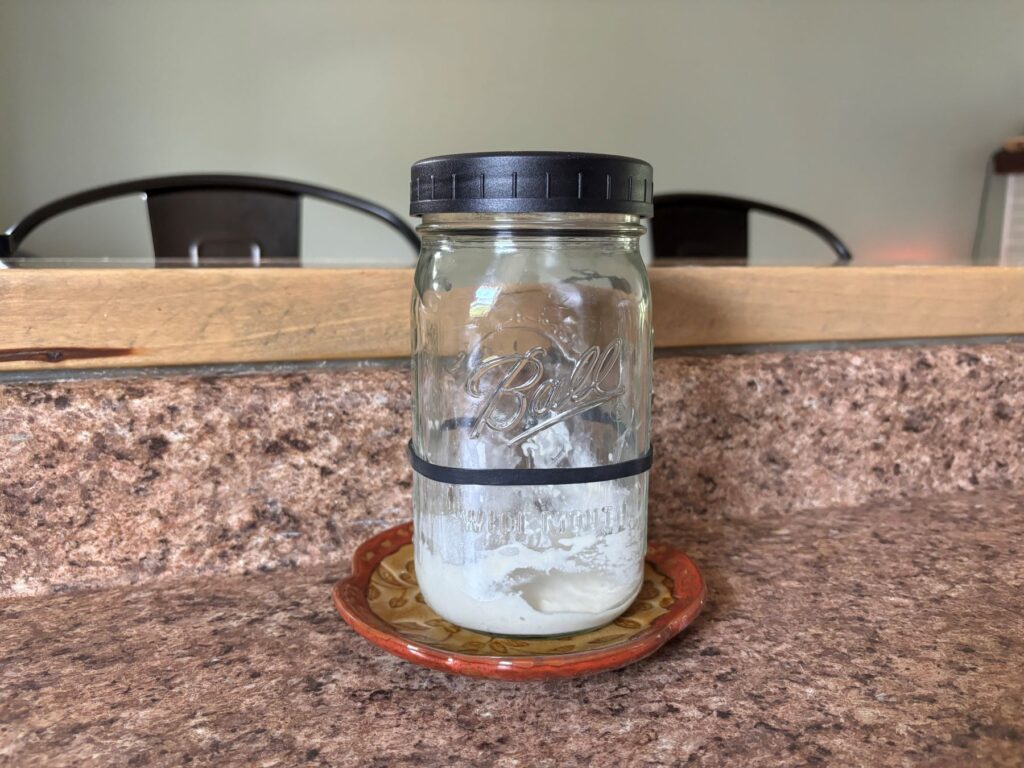
Now is the time to start using the band around your jar to keep track of the volume, so that you can easily tell when your starter has began doubling in volume after a feeding and become active enough to use for baking.
____________________

Repeat: Continue the cycle of discarding half of the starter and feeding 40g flour and 40g water every 24 hours. Once your starter is bubbly and active, and doubling in volume around 4 hours after feeding (typically by day 7), it is ready to bake with.
The amount of active starter you will have in your jar at this point is not generally enough to bake with as-is. To create enough starter for baking, feed it a higher ratio of flour and water. For example, if you have 50 grams of starter in your jar, you can feed it 100 grams of flour and 100 grams of water. This will create a larger amount of starter to use for your recipe, with some still left over to maintain. You can always tailor the amount you discard and feed to create what you need for baking.
To keep your starter alive, you will feed it daily. If you do not bake regularly, you can keep it alive by storing it in the refrigerator and only feeding it once per week. It may weaken when refrigerated, so I recommend taking it out a day or two before baking and feeding it for several cycles first for the best results.
A healthy, fed starter should have a pleasant, slighty tangy bread-like smell. If you’re unsure about whether your starter is alive or okay to use, check out this post I wrote for guidance.
___________________________________
We’re Here to Help: If you have any questions, suggestions, or need help, feel free to contact us on Facebook, Instagram, or through our contact form.

Pro Tips
- Inactive Starter: If your starter isn’t rising or bubbling, try feeding it twice daily for a few days to revive it.
- Keep it Clean: Regularly clean the jar to prevent residue buildup. Every few weeks, transfer your starter to a clean container and wash your jar and lid before returning it back.
- Save Your Starter: It’s always a good idea to save a bit of your starter in case something happens to yours. You can dehydrate it by painting a thin layer on a sheet of parchment paper and then letting it dry at room temperature for 24 hours. Then, break it apart and store in an airtight container. Follow the instructions above again to reactivate. Alternatively, you can freeze a portion in an airtight container. Thaw and feed it a few times to reactivate.
- Refrigerate Your Starter: After your starter is established and consistently doubling 4 hours or so after being fed, you can begin storing it in the refrigerator to make it dormant and feed it once a week, pulling it out when you want to bake. This is helpful if you aren’t baking bread often but want to keep your starter alive.
- Use Your Discard: The discarding process is important to maintain a reasonable amount of starter. If you don’t discard any, you will continue to get more and more starter, and there’s just no need for that, not to mention the amount of flour required to maintain it. If you want, you can use your discard for sourdough discard recipes. Just do a google search or look on Pinterest for ideas.
- Need More Starter? Most sourdough bread recipes call for 50g-150g of starter, so as long as you have that much at any given time plus a little left over to feed to continue using, you should be good to go. If you know you are going to make a lot more of something than normal, just skip the discarding the day before, or feed the starter more.
Maintaining an active sourdough starter is easy once you establish a routine. With a little care, your starter will reward you with delicious bread and baked goods for years to come. For more tips and resources, click here.

I have a friend who’s into bread recipes at the moment so your article will be perfect for him. Detailed and easy to follow instructions. Thanks so much for sharing!
My family and I absolutely love sourdough bread, so I truly appreciate the detailed, step-by-step guide on how to make it! The tips on using bread flour for a happier starter and adjusting water for chlorine levels are incredibly helpful.