Every sourdough baker needs a go-to bread recipe. We’ve tried quite a few, and through trial and error, we’ve developed a method and recipe that produces a close to perfect loaf for us every time.

When baking sourdough, it’s important to keep in mind that the temperature of your kitchen, the strength of your sourdough starter, and the slightest adjustments to measurements, time, and technique can produce a very different result. If you don’t get the results you want, feel free to send us a message on Facebook or Instagram, or through our contact form, and we will help you troubleshoot. If you purchased a sourdough starter from us, make sure you’re in our private Facebook group, where we provide support and post all things sourdough related!
Once you’ve mastered this recipe, I encourage you to try making adjustments. For example, make a higher hydration loaf by increasing the water to 380g, try using more starter, or switch out half of the flour for whole wheat or rye. You might like the results even better, and you will learn how these adjustments affect the bread in different ways.
Step #1: Mix Starter and Water
Add the following ingredients to a large bowl:
- 80g active, bubbly sourdough starter, at or just past peak
- 340g water
Stir together till combined.

Step #2: Mix In Flour and Salt
Add to the bowl:
- 500 grams unbleached bread flour
- 11 grams salt

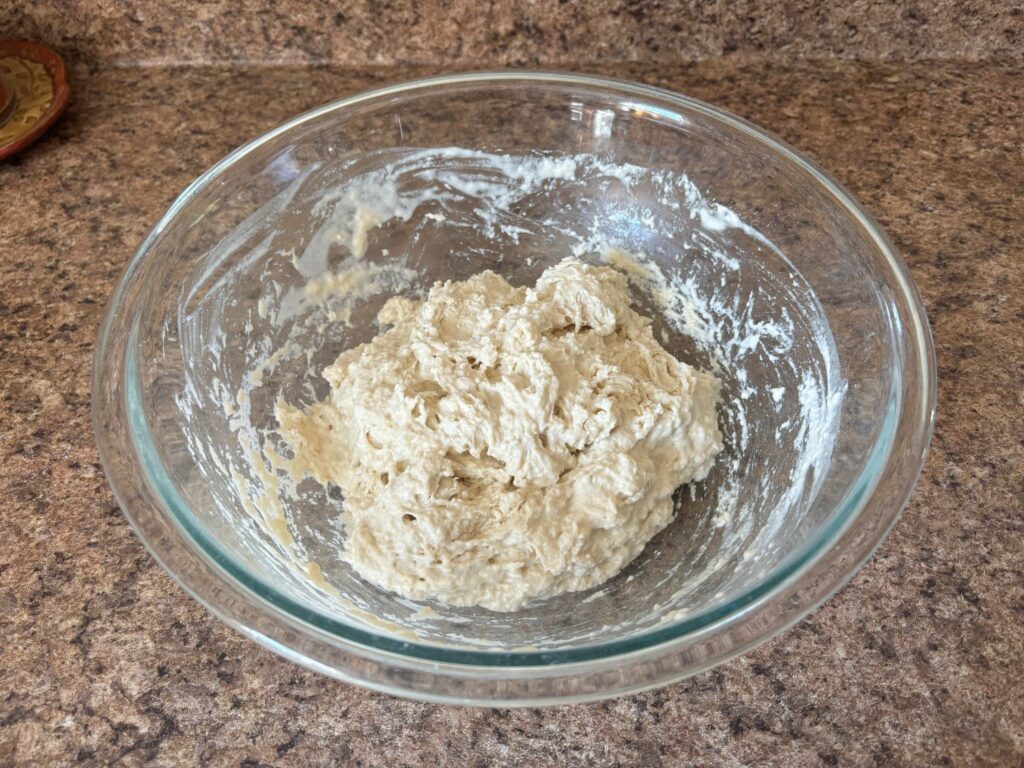
Combine the ingredients together with your hands or a spoon until you can’t see any dry spots of flour. The dough will feel dry, rough and shaggy. Then, cover the bowl with plastic wrap, a wax wrap, a damp towel, or, I highly recommend using a plastic shower cap – it’s reusable, quick, and easy. This step officially begins the fermenting of your dough.
Step #3: Fermentolyse
Let the mixture rest on the counter for about 30 minutes to 1 hour. This is called “fermentolyse” and allows the flour to fully hydrate as it begins fermenting, as well as starts the gluten development, making the dough easier to work with for the next steps. (You may see this step referred to as “autolyse”… its often used interchangably, but technically, autolyse is when you mix the flour and water and letting it rest before adding the starter and salt.)

Step #4: Stretch and Folds
After the fermentolyse, you will do three rounds of stretch and folds. (I recommend wetting your hands slightly before you do this, so the dough doesn’t stick to them.) Think of your dough as having four sides. Grab one side, and gently stretch it out and up, without tearing it. Lay the section you pulled on top of the dough towards the opposite side you pulled from. Turn your bowl a quarter turn and repeat. Do this to all four “sides”, then re-cover your dough.
After 30 minutes has passed, do another set of stretch and folds. The dough will feel slightly firmer this time.
After 30 more minutes, repeat the stretch and folds for the third and final time. The dough will be a lot firmer and more difficult to pull. This is due to the gluten in the dough strengthening.
Step #5: Bulk Rise
The dough is now ready to do the majority of it’s rising, called the bulk rise. Do not skip this step! Cover your bowl, and let it rise at room temperature (around 68-74°F) until it has slightly less than doubled in size. This will take anywhere from 4-12 hours depending on the temperature of the room and the strength of your sourdough starter.
Your dough is ready to shape when:
- It has almost doubled in volume
- There are small bubbles forming under the surface and on the bottom of the dough (I like to use a glass bowl so I can see!)
- The edges of the dough are beginning to curve into more of a dome, rather than being flat across the bowl.
- The dough is slightly jiggly when you shake the bowl
- The dough pulls away cleanly from the sides of the bowl when you tilt it
Step #6: Pre-Shape and Bench Rest
Once your dough has finished the bulk rise, flour your hands and the top of the dough lightly, then lift it out, keeping the smooth side facing up, and set it onto a lightly floured surface. Then gently shape into a ball. Do not press together or knead the dough. Cover with plastic wrap or a damp towel and let the dough sit for 30 minutes. This bench rest period allows the gluten to relax so that the bread is easier to shape.
Step #7: Shape Your Dough
Gently turn your dough over so that the floured side is on the counter and the stickier side is facing up. Pull each edge out slowly so that it forms a rectangle. Do not make it too flat, we do not want to deflate the gas bubbles trapped within the dough.
You will now shape the dough according to the shape of your proofing bowl and basket that you will place it in, which you will choose based on the loaf shape you want to bake. Round loaves are called boules, oval loaves are called batards, or you can use a regular loaf pan. Refer to the video on our resources page about shaping your dough to see the different techniques in action.
Step #8: Overnight Fermentation
After shaping, carefully flip your dough over and place it seam side up into a clean, floured bowl, proofing basket, or loaf pan. Pinch the seams together to help the dough maintain it’s shape. Then cover it, and put it inside the refrigerator to cold proof overnight. You can skip this step and bake immediately after shaping, or only refrigerate for a short time, but I highly recommend the overnight fermentation. The longer your sourdough ferments, the easier it is to digest, and it adds to the unique flavor that sourdough is famous for. You also can’t beat the timing of being able to pull it out and bake it whenever it’s convenient the next day, and cold dough is much easier to score as well.
Step #9: Preheat and Prepare to Bake
Preheat your oven to 450°F. Wait until it has preheated, then remove the dough from the refrigerator – cold dough is much easier to score. Flip the dough seam side down from the proofing basking onto floured parchment paper. I recommend using rice flour.
Step #10: Score
Score the dough with a scoring tool, razor blade, or knife. You can do this however you want. I prefer to do a curved line on one side, or a line straight down the middle. You can also make designs. To help your scoring designs stand out, mist your dough with a very small amount of water and spread rice flour over it before scoring.
Step #11: Bake
After scoring, place the lid on your dutch oven or roasting pan and place it into the oven on the middle rack. Bake covered at 450°F for 30 minutes, then remove the lid. Your bread should have risen quite a bit, and won’t have much color to it at this point. Then, bake uncovered at 450°F for 25 more minutes. Your loaf is done baking once the center reaches 200°F to 210°F.
Step #12: Cool and Eat
Remove the loaf from the pan and place it on a cooling rack. To maximize the moisture retention and prevent the bread from getting gummy, let it cool for at least an hour. Then, slice and enjoy!
PRO TIPS:
To prevent the bottom of your loaf from burning or being too hard, you can add a layer of rice directly to your pan, under the parchment, or place a baking sheet covered in foil on the lower rack below your bread. This will create a barrier to the direct heat.
Steam is what helps your bread to rise. To create more steam and improve the rise, add a few ice cubes in your dutch oven under the parchment when you initially put it in the oven.
Classic Sourdough Bread
This is our go-to sourdough bread recipe, and makes one sourdough loaf. In addition to the ingredients below, you will need a large mixing bowl, something to cover it with, and a kitchen scale.
For sourdough resources, please visit https://allthronetogether.com/sourdough.
Ingredients
80 grams active sourdough starter, preferrably at or just past peak
500 grams unbleached bread flour
340 grams water
11 grams salt
Directions
- Mix Starter and Water: In a large bowl, combine the sourdough starter and water, and stir till combined.
- Add Flour and Salt, and Mix Dough: Add your flour and salt to the starter and water, and mix together with a dough whisk or your hands, until a shaggy dough forms.
- Fermentolyse: Cover the bowl and let it sit to fermentolyse for 30 minutes.
- Stretch and Folds: Perform three rounds of stretch and folds, spaced 30 minutes apart.
- Bulk Rise: After the last stretch and fold, begin the bulk rise. Keeping the bowl covered, let the dough rise at room temperature (68-74°F) until it has nearly, but not quite, doubled in size, is beginning to form bubbles under the surface, and pulls away from the bowl cleanly when tilted. Be careful not to overproof. This can take between 4 to 12 hours, depending on the room temperature and the strength of your sourdough starter.
- Pre-Shape and Bench Rest: Once the bulk rise is complete, lightly flour your hands and the top of the dough. Carefully lift the dough out, keeping the top side facing up, and place it onto a lightly floured surface. Gently shape it into a ball. Cover with plastic wrap or a damp towel and let it rest for 30 minutes.
- Shape Dough: Turn your dough over so that the floured side is on the counter and the stickier side is facing up. Pull each edge out gently and slowly so that it forms a rectangle. Do not make it too flat or tear the dough, we do not want to deflate the gas bubbles trapped within the dough. You will now shape the dough according to the shape of your proofing bowl and basket that you will place it in, which you will choose based on the loaf shape you want to bake.
- Cold Proof: After shaping, carefully flip your dough over and place it seam side up into your proofing basket. Pinch the seams together to help the dough maintain it’s shape. Cover it, and put it inside the refrigerator to ferment for at least a few hours, but preferrably more than 12 hours for optimal flavor and gut health benefits.
- Preheat and Prepare to Bake: Preheat your oven to 450°F. Wait until it has preheated, then remove the dough from the refrigerator – cold dough is much easier to score. Flip the dough seam side down from the proofing basking onto floured parchment paper. I recommend using rice flour.
- Score: Score the dough with a scoring tool, razor blade, or knife. You can do this however you want. I prefer to do a curved line on one side, or a line straight down the middle. You can also make designs. To help your scoring designs stand out, mist your dough with a very small amount of water and spread rice flour over it before scoring.
- Bake: After scoring, place your dough on the parchment into the dutch oven or roasting pan and put the lid on it. Put it into the oven on the middle rack. Bake covered at 450°F for 30 minutes, then remove the lid. Your bread should have risen quite a bit, and won’t have much color to it at this point. Then, bake uncovered at 450°F for 25 more minutes. Your loaf is done baking once the center reaches 200°F to 210°F.
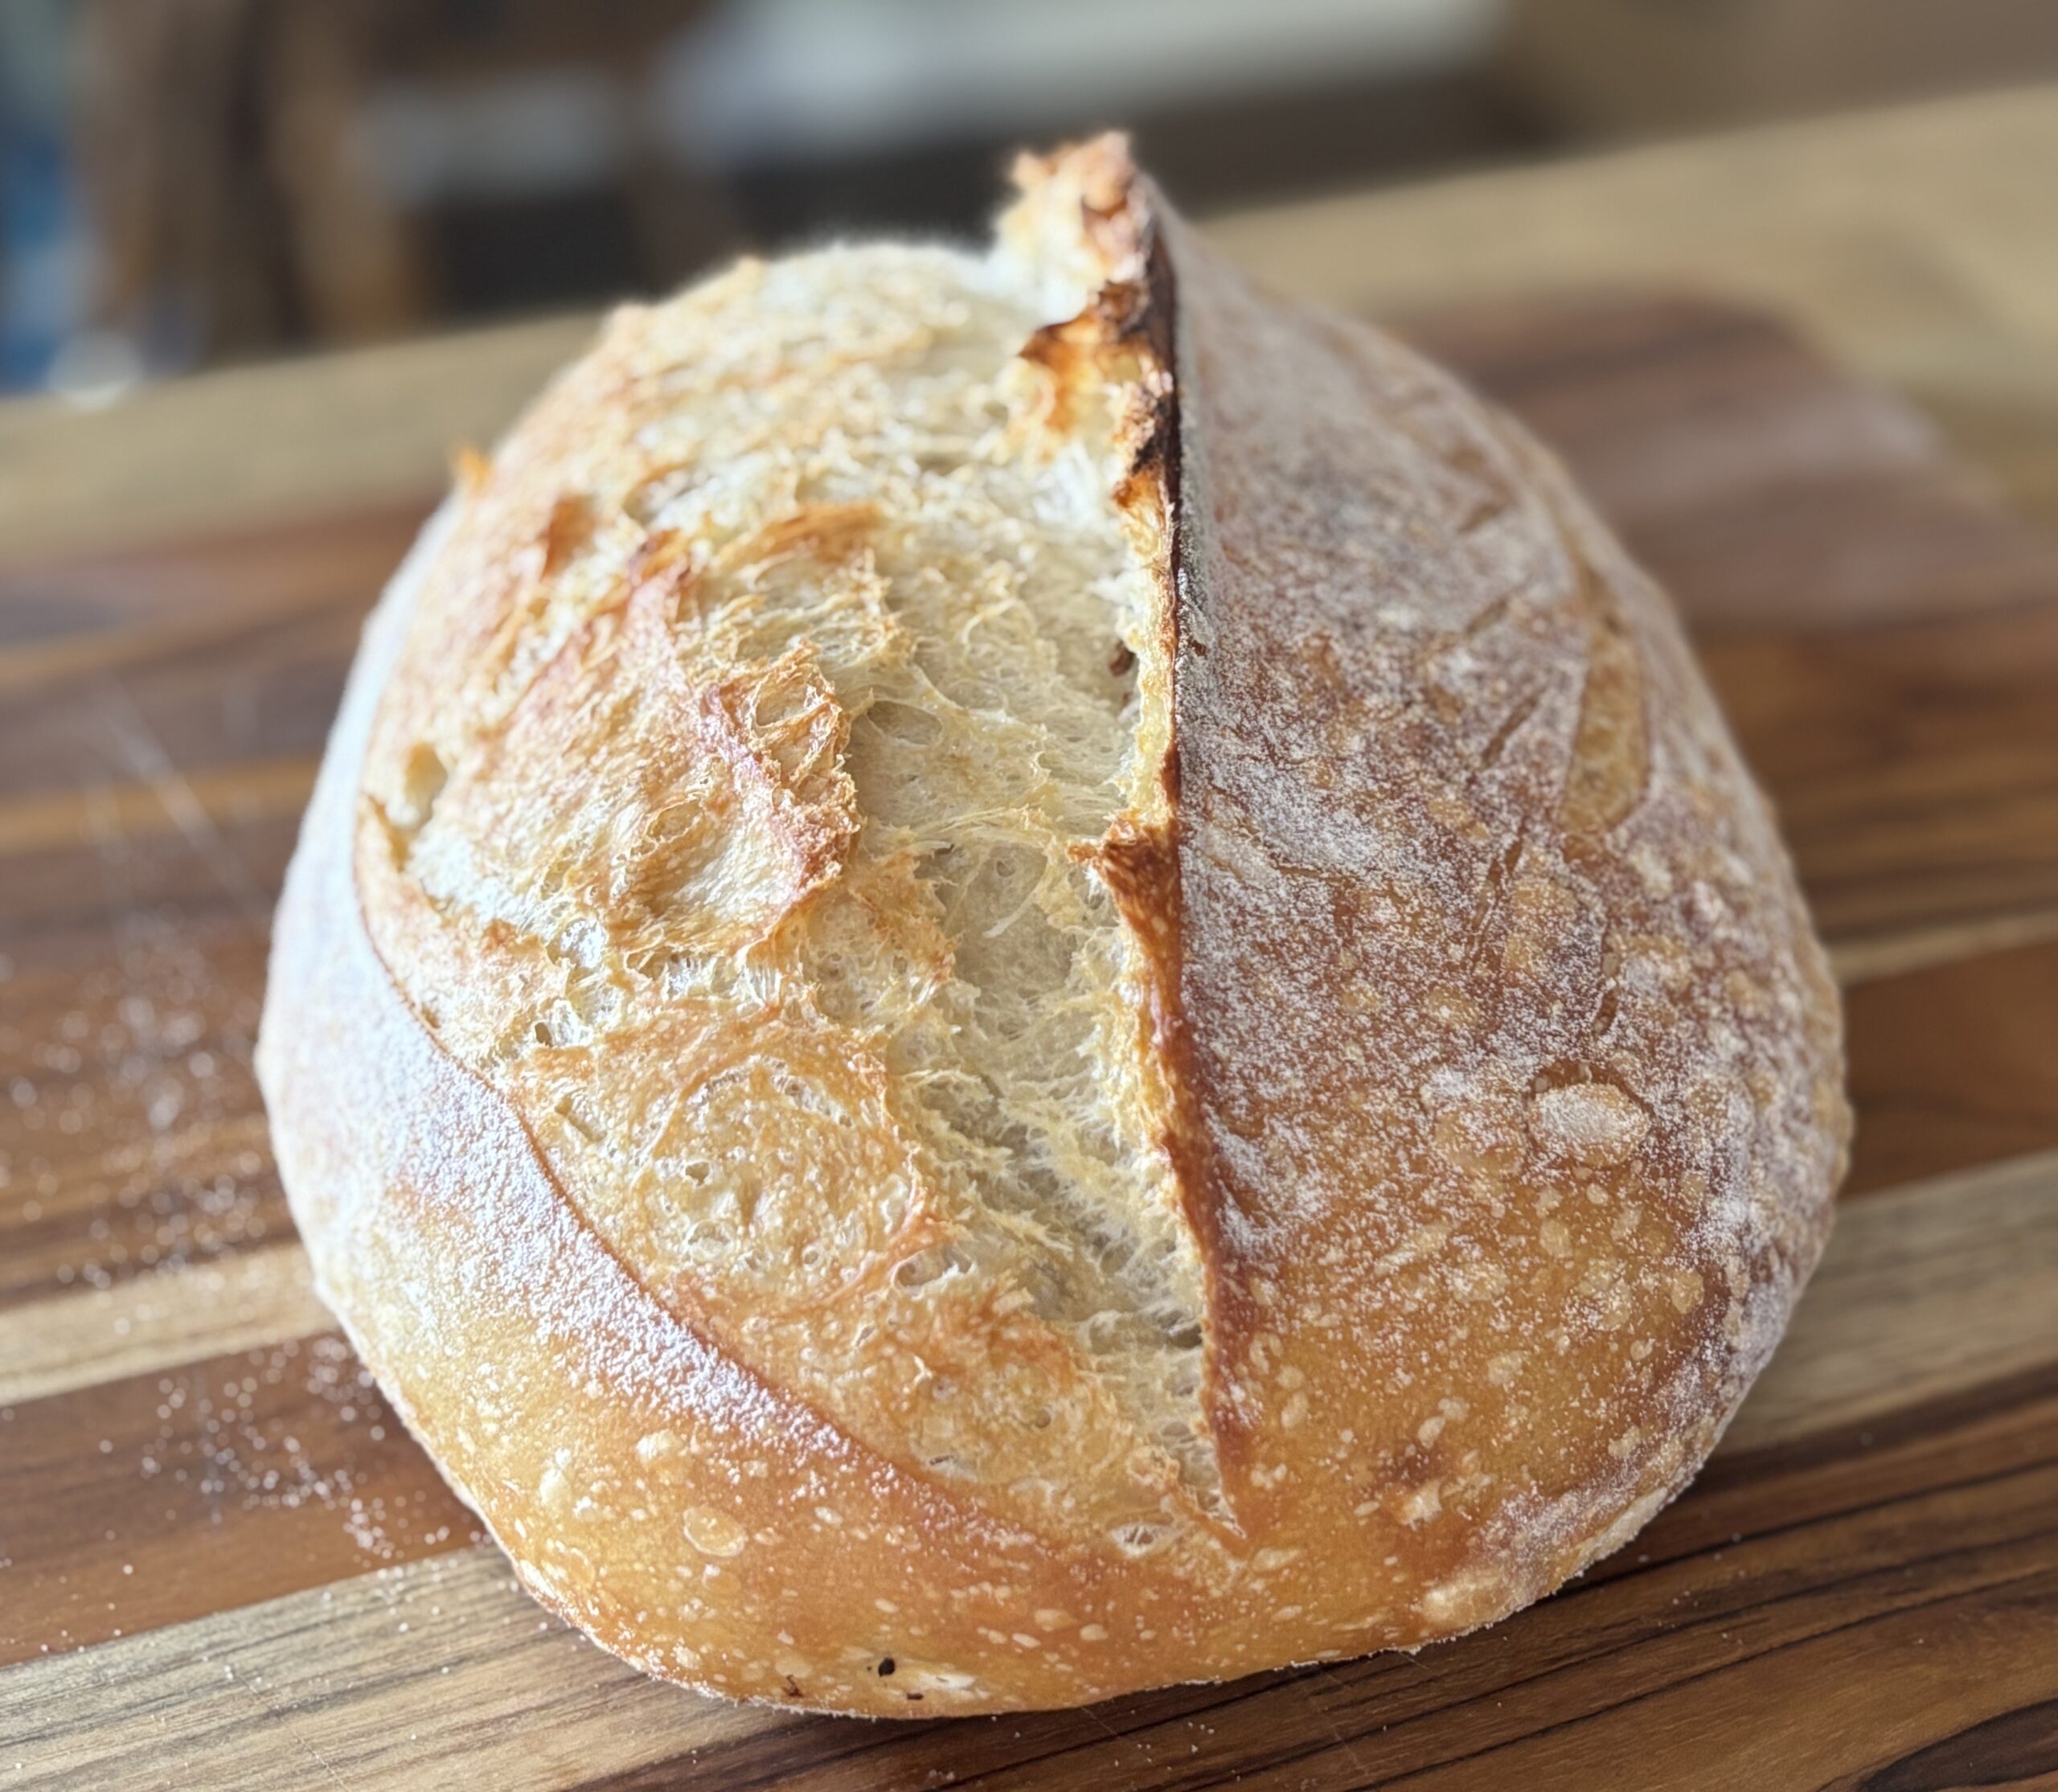
- Cool and Eat: Remove the loaf from the pan and place it on a cooling rack. To maximize the moisture retention and prevent the bread from getting gummy, let it cool for at least an hour. Then, slice and enjoy!
Notes
- To create a softer loaf and keep the bottom from burning, put a cookie sheet covered in foil on the bottom rack of your oven while the bread is baking. Alternatively, you can put a layer of rice under the parchment paper and bread loaf.
- Steam is what helps your bread to rise. To create more steam and improve the rise, add a few ice cubes in your dutch oven under the parchment when you initially put it in the oven with the lid on.
- To store uneaten bread, place it in an opened bread bag or dessert stand with lid. It should be good for at least 2-3 days.
- Refresh and reheat your loaf by sprinkling it with a bit of water and baking it for 8-10 minutes at 350°F.
- Sourdough bread freezes and reheats well! Wrap it in plastic wrap and place in a freezer bag. Make sure to place parchment or freezer paper between any already sliced bread. Then, thaw at room temperature and follow reheating instructions above.
I used this recipe and it turned out great!